Integration Overview
Some online solutions provided by DANA requires you to integrate with our systems & APIs. We have provided tools & guides to help you integrate your online businesses to DANA’s payment ecosystem. Below are the general steps required to integrate with DANA.
Access your developer dashboard
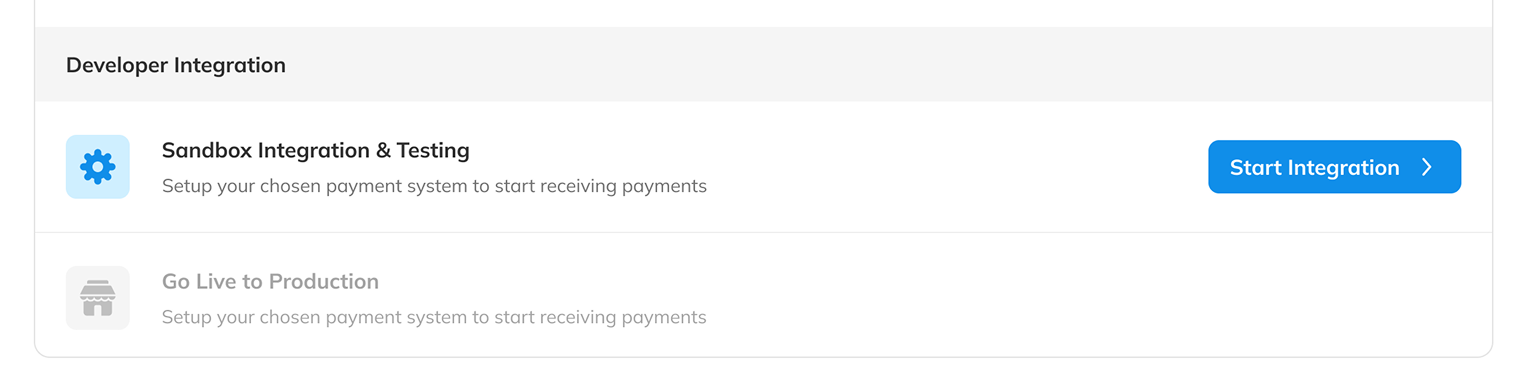
You can access your developer dashboard and begin the integration process by clicking the Start Integration button.
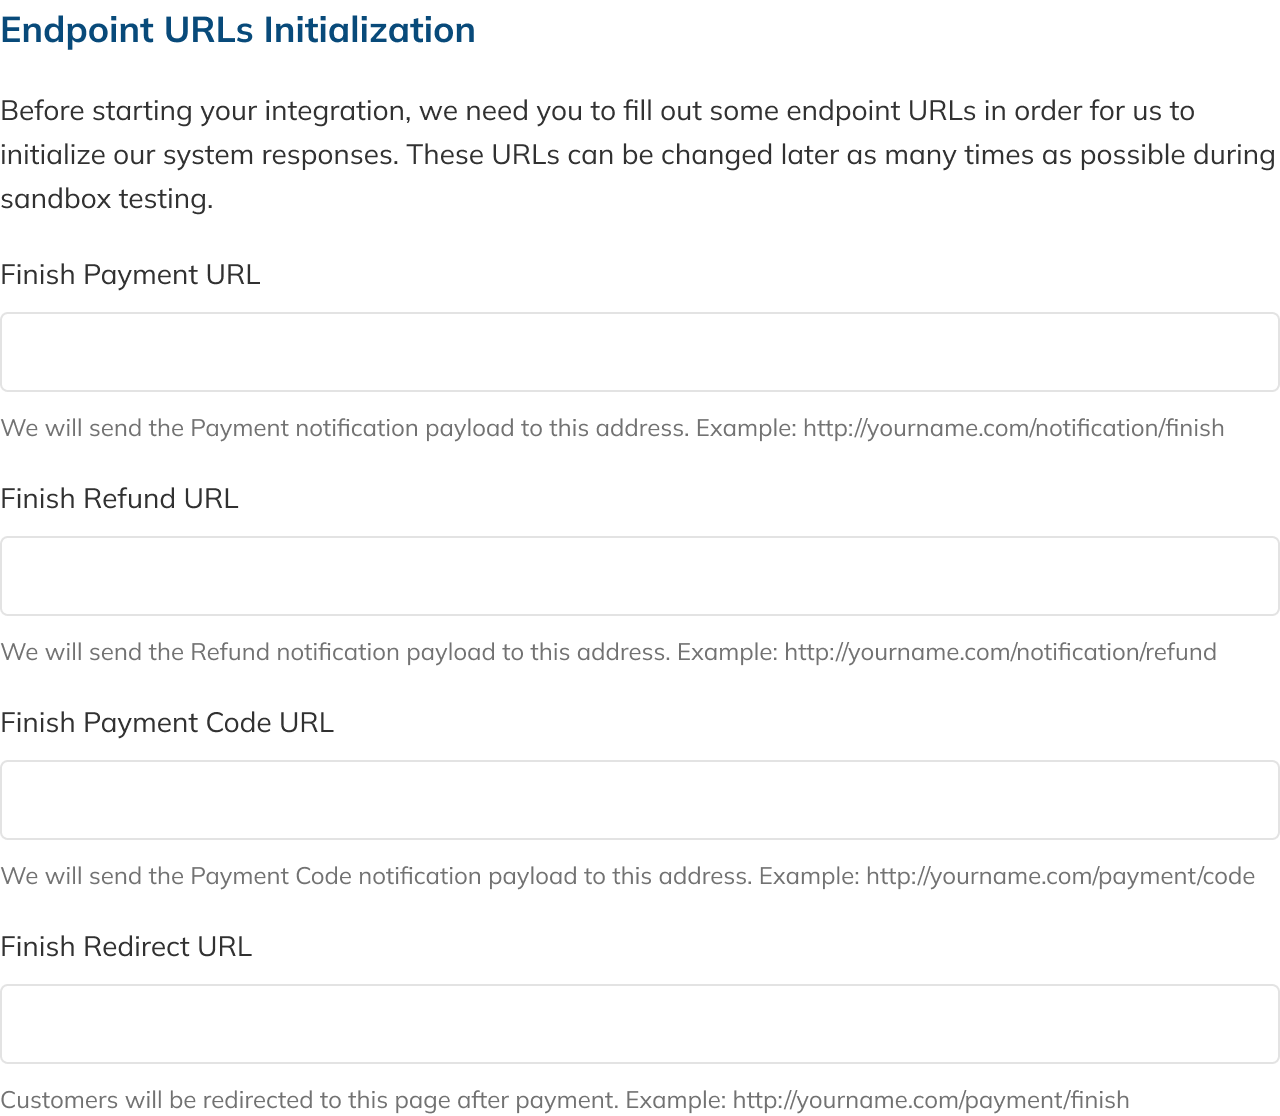
Before starting integration, you will need to initialize your webhook settings by providing several webhook endpoint URLs. Read the links provided in each field to learn more about the associated webhook APIs.
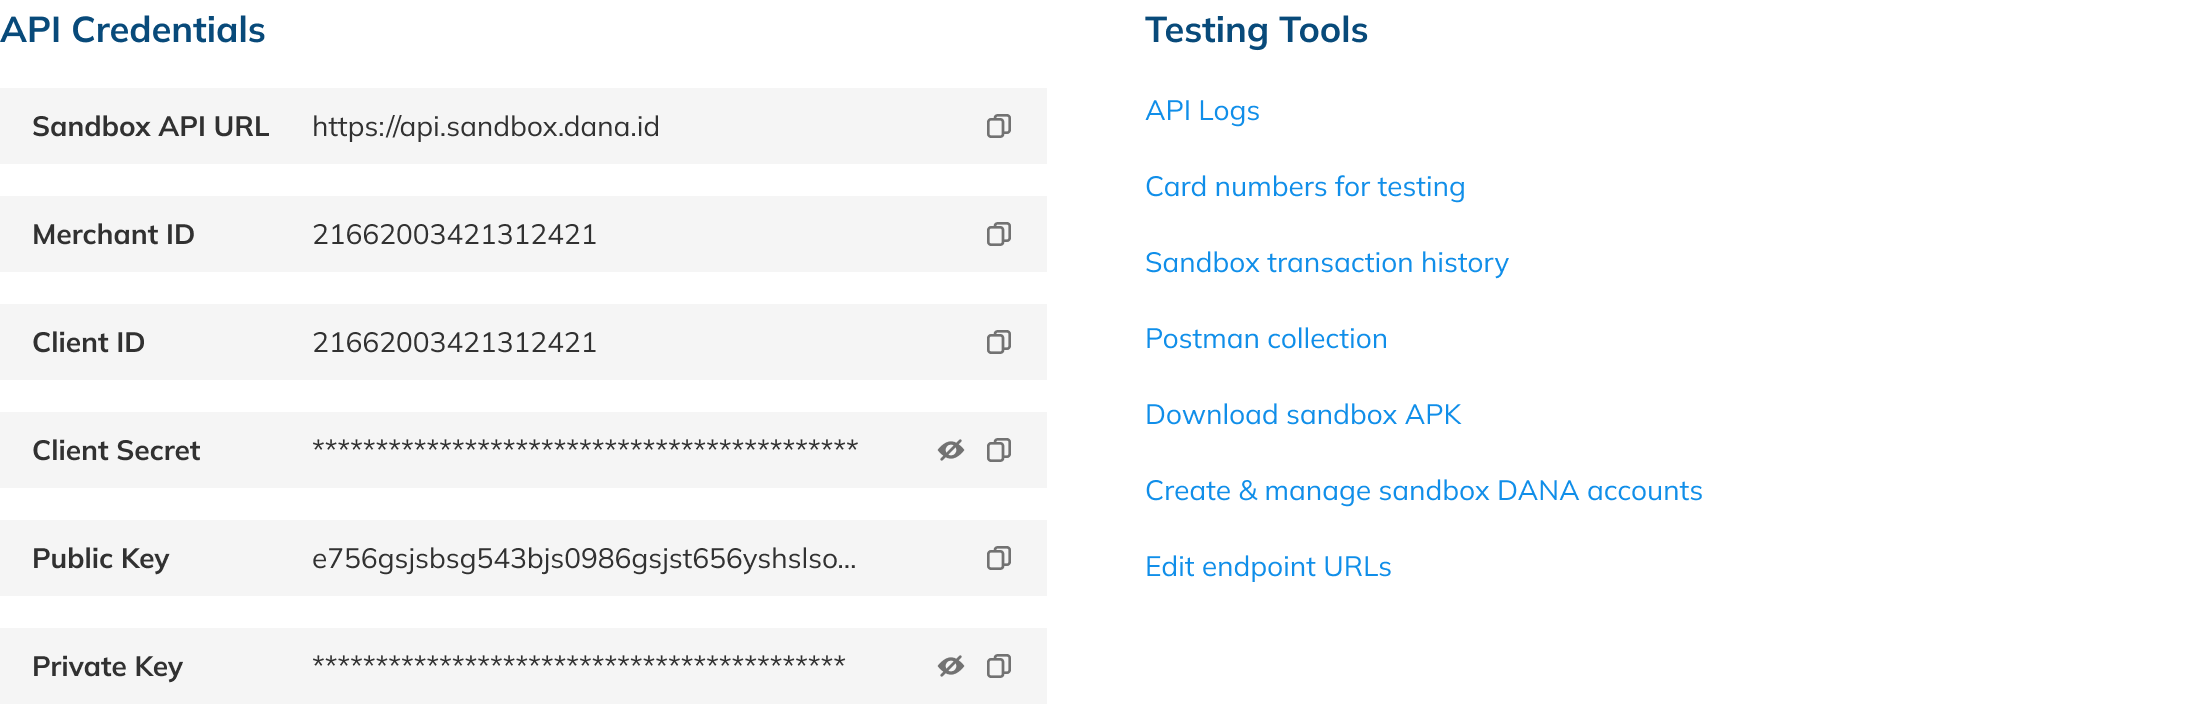
After initializing your webhook settings, you can access your developer credentials from the dashboard. These credentials are essential for authenticating your integration with DANA's APIs.
Make sure to securely store these credentials. You'll use these credentials to authenticate all API requests during both testing and production phases.
-
Complete Testing Scenarios
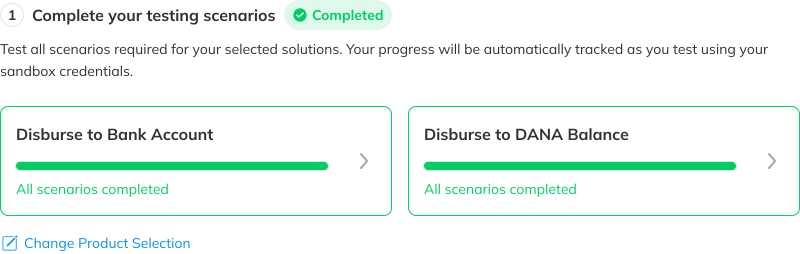
The system will automatically track the testing progress when merchant performs testing using sandbox credentials. For more details, go to Scenario Testing.
- Go to Integration Checklist.
- Complete all required testing scenarios for your selected products.
- Ensure each product selected shows All scenarios completed.
- If needed, click Change Product Selection to update the selected products.
Complete Testing Scenarios -
Sign the UAT Sign-Off Report
The system will generate a UAT Sign-Off Report based on the completed test logs and send it to the registered IT representative’s email address for signing.
- Check the Sign your UAT Sign-Off Report document section.
- Enter the IT Representative Email, IT Representative Name, and IT Representative Title.
- Once all required information is valid, click Send UAT Document.
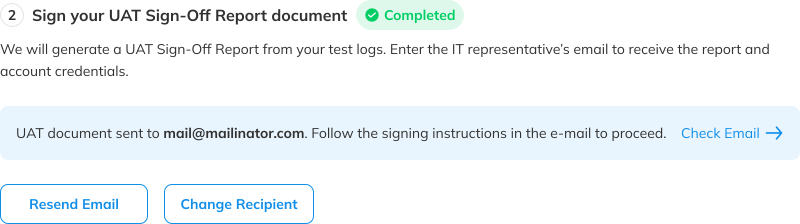
Sign your UAT Sign-Off Report Document -
Complete Devsite Test Setup
The deviste testing is required for merchants to comply with SNAP standards from Bank Indonesia.
- Use My ASPI Account
- Create an Account via DANA
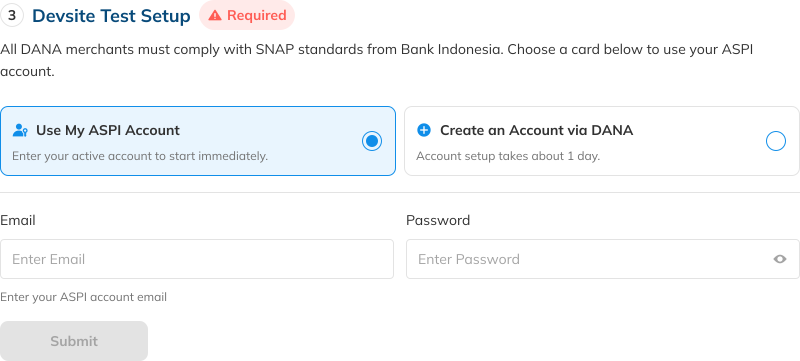
- Enter the ASPI account email & password.
- Click Submit to continue. This process takes 2 - 3 minutes.
- When the status shows:
- "Uji Devsite in Progress", wait as the Uji Devsite is being run. It might take up to 2 hours.
- "Completed", download the report by clicking the Download Report button.
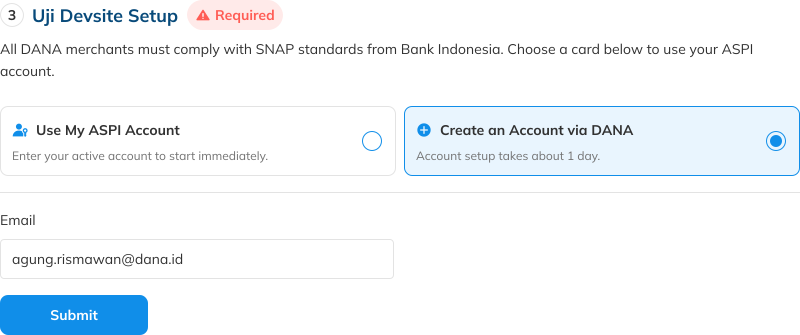
- Enter the email address that will be used for ASPI account registration and click Submit to send the registration request.
- When the status shows:
- "Waiting Email Confirmation", check the registered email address and follow the confirmation instructions.
- "Waiting Activation", wait as the account is being activated. It might take up to 6 hours.
- "Uji Devsite in Progress", wait as the Uji Devsite is being run. It might take up to 2 hours.
- "Completed", download the report by clicking the Download Report button.
Make sure you have also completed your business verification process to be able to receive live payments. Visit our Business Verification Overview page for information.

